1
/
of
2
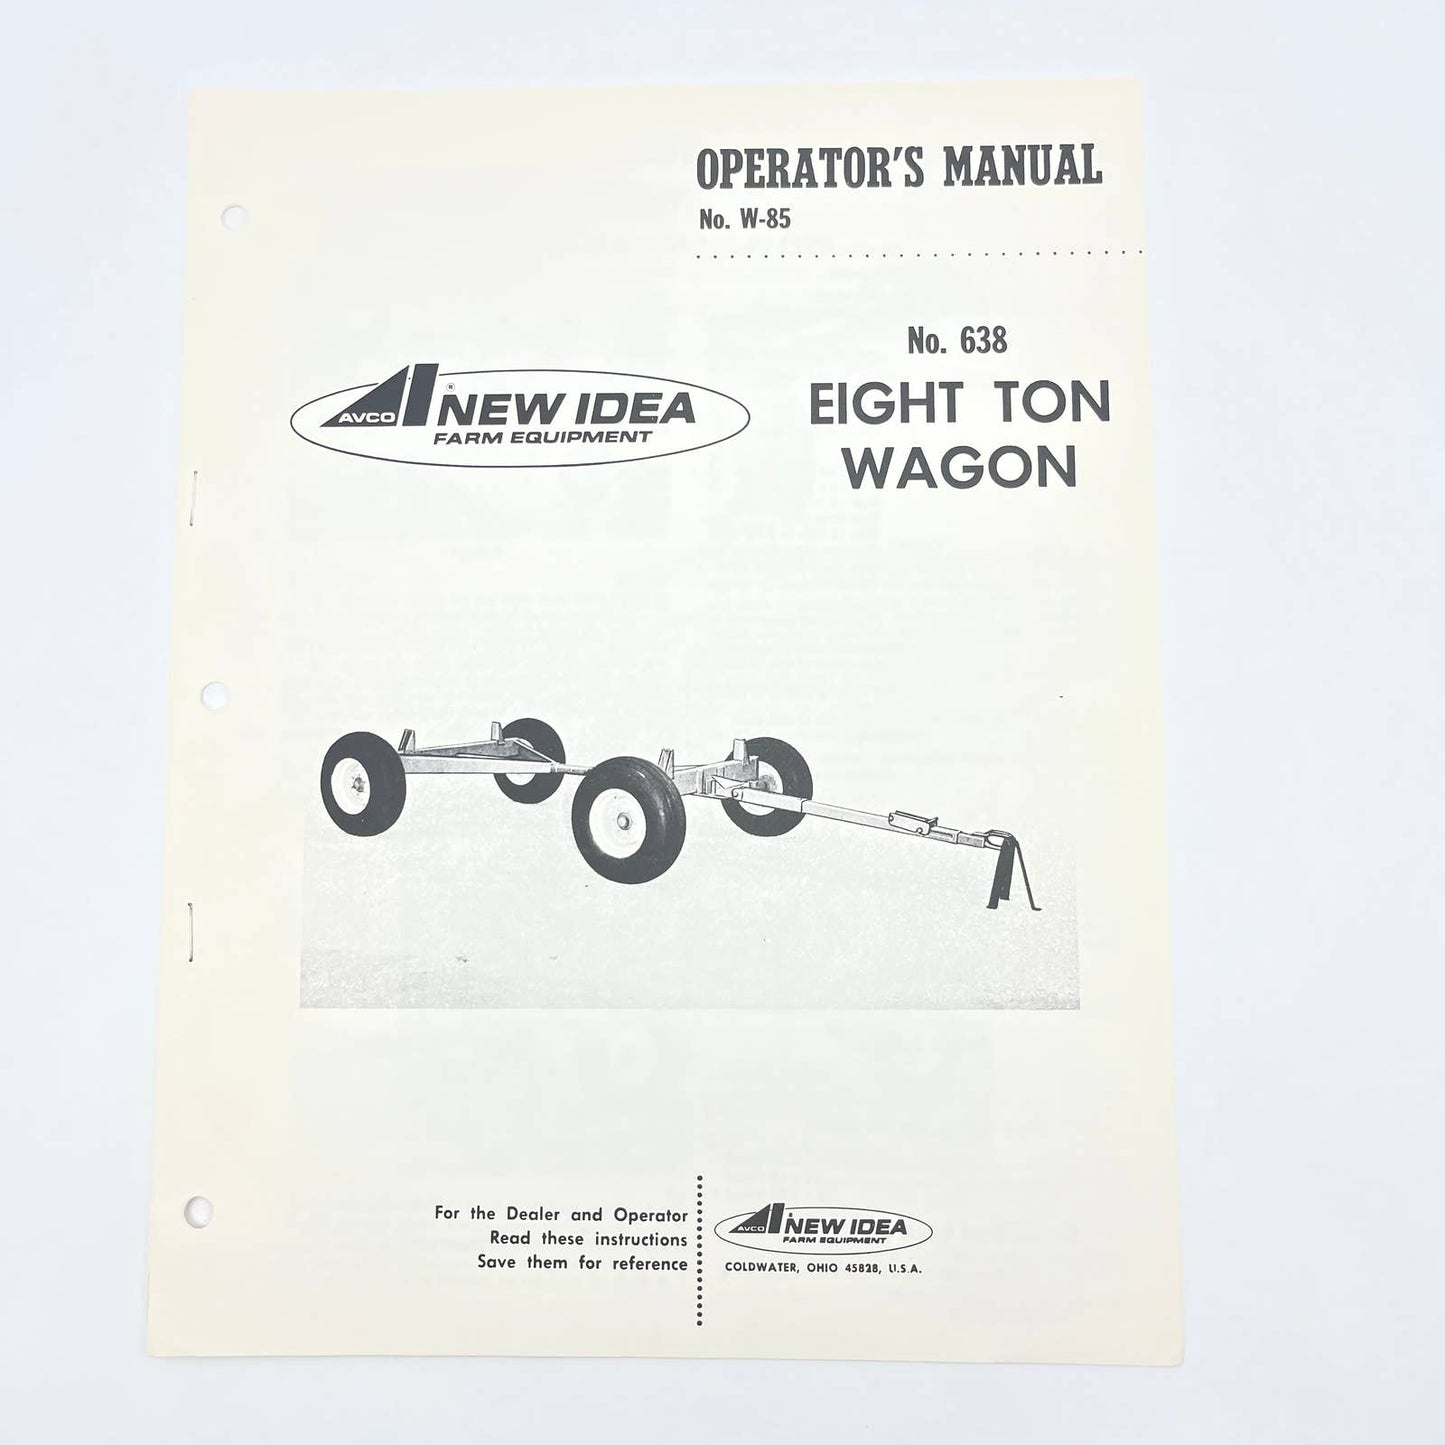
Original 1976 New Idea Operator's Manual W-85 No. 638 Eight Ton Wagon TB9
Original 1976 New Idea Operator's Manual W-85 No. 638 Eight Ton Wagon TB9
Regular price
$17.00 USD
Regular price
Sale price
$17.00 USD
Unit price
/
per
Tax included.
Couldn't load pickup availability
See pics for condition.
Original 1976 New Idea Operator's Manual W-85 No. 638 Eight Ton Wagon TB9
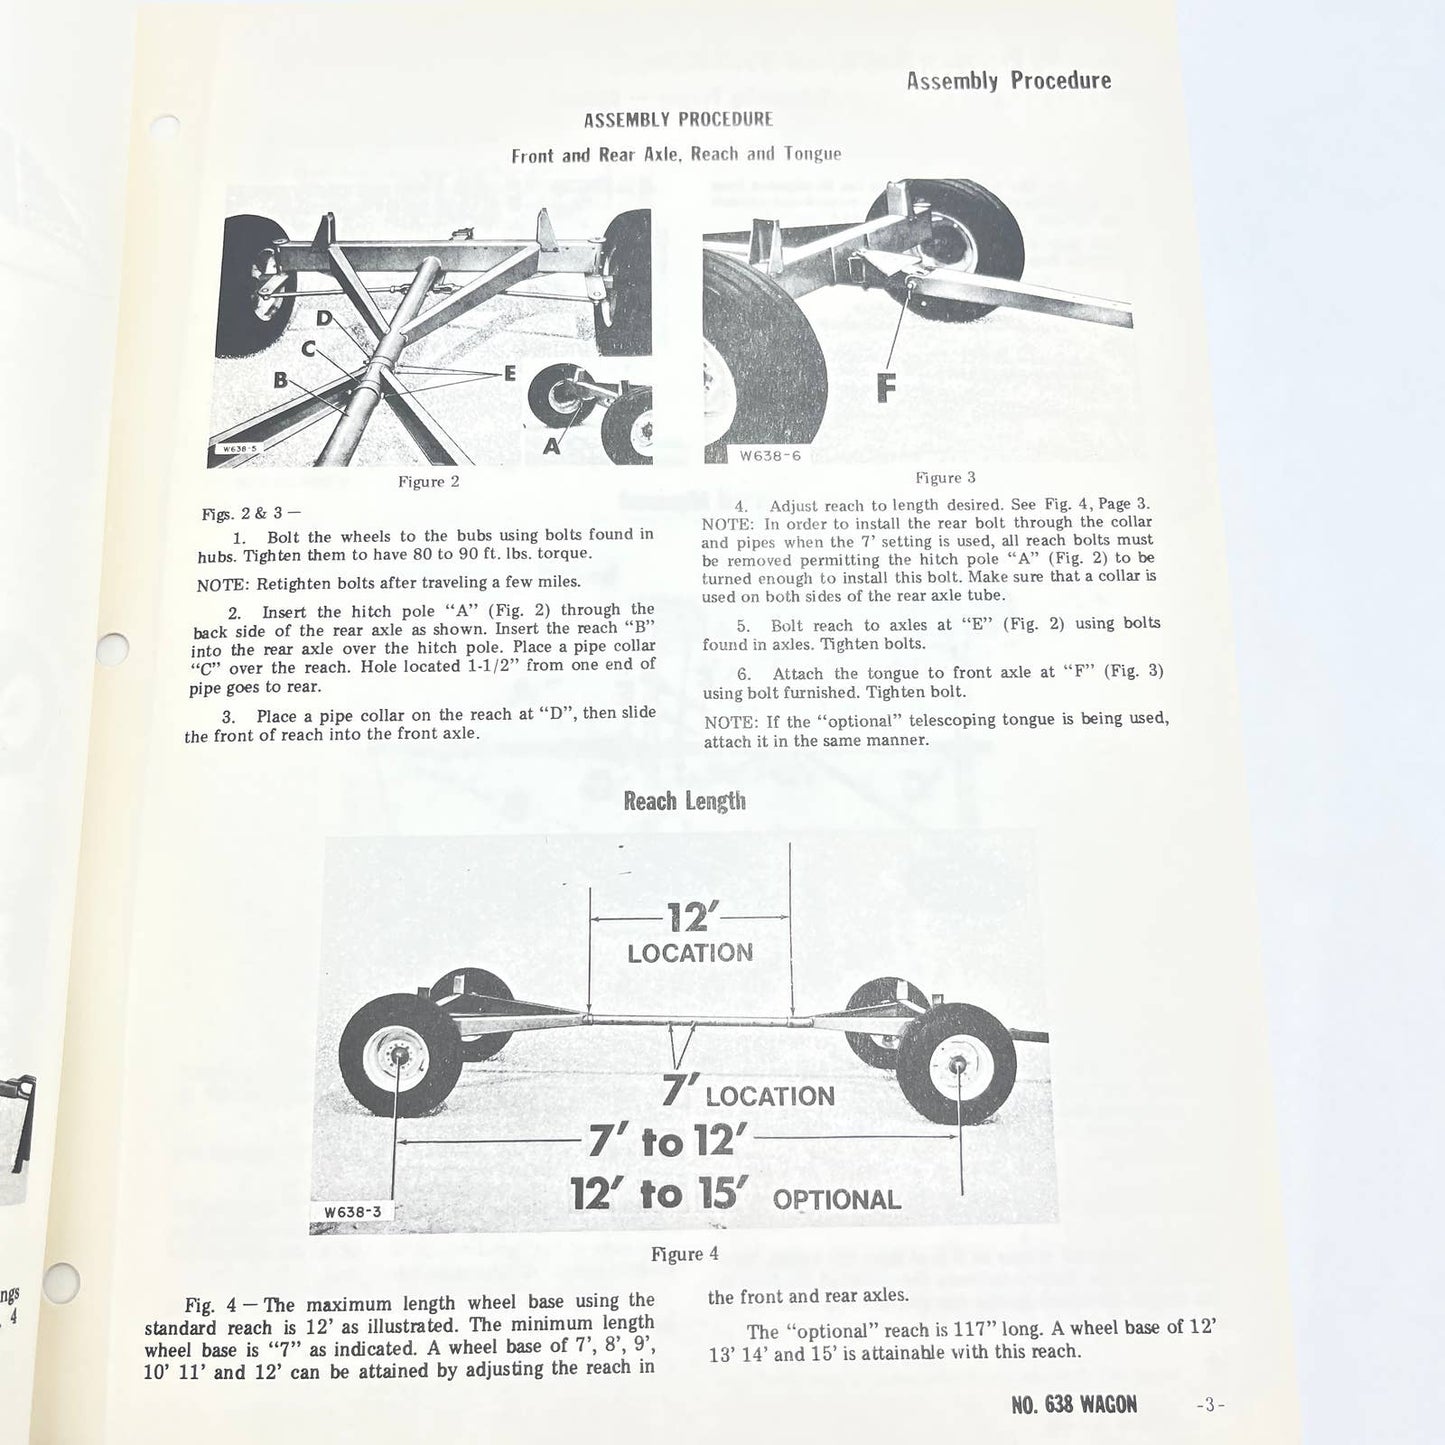
ASSEMBLY PROCEDURE
Front and Rear Axle, Reach and Tongue
F
Figure 2
Figs. 2 & 3 - 1.
Bolt the wheels to the bubs using bolts found in hubs. Tighten them to have 80 to 90 ft. Ibs. torque.
NOTE: Retighten bolts after traveling a few miles.
2. Insert the hitch pole "A" (Fig. 2) through the back side of the rear axle as shown. Insert the reach "B" into the rear axle over the hitch pole. Place a pipe collar ups over the reach. Hole located 1-1/2" from one end of pipe goes to rear.
3. Place a pipe collar on the reach at "D', then slide the front of reach into the front axle.
W638-6
Figure 3
4. Adiust reach to length desired. See Fig. 4, Page 3.
NOTE: In order to install the rear bolt through the collar and pipes when the 7' setting is used, all reach bolts must be removed permitting the hitch pole "A" (Fig. 2) to be turned enough to install this bolt.
Share


